


Watching a little dog launch off a tall bed is nerve-racking. For seniors and long-backed breeds, that jump can be hard on joints and spines, again and again, every single day.
A DIY dog ramp for bed is a simple weekend build. It costs less than most store-bought ramps, and you can size it exactly to your bed and your dog.
Who really needs a bed ramp?
Lots of dogs can benefit, but these are the ones who gain the most.
- Senior dogs with stiff hips or arthritis
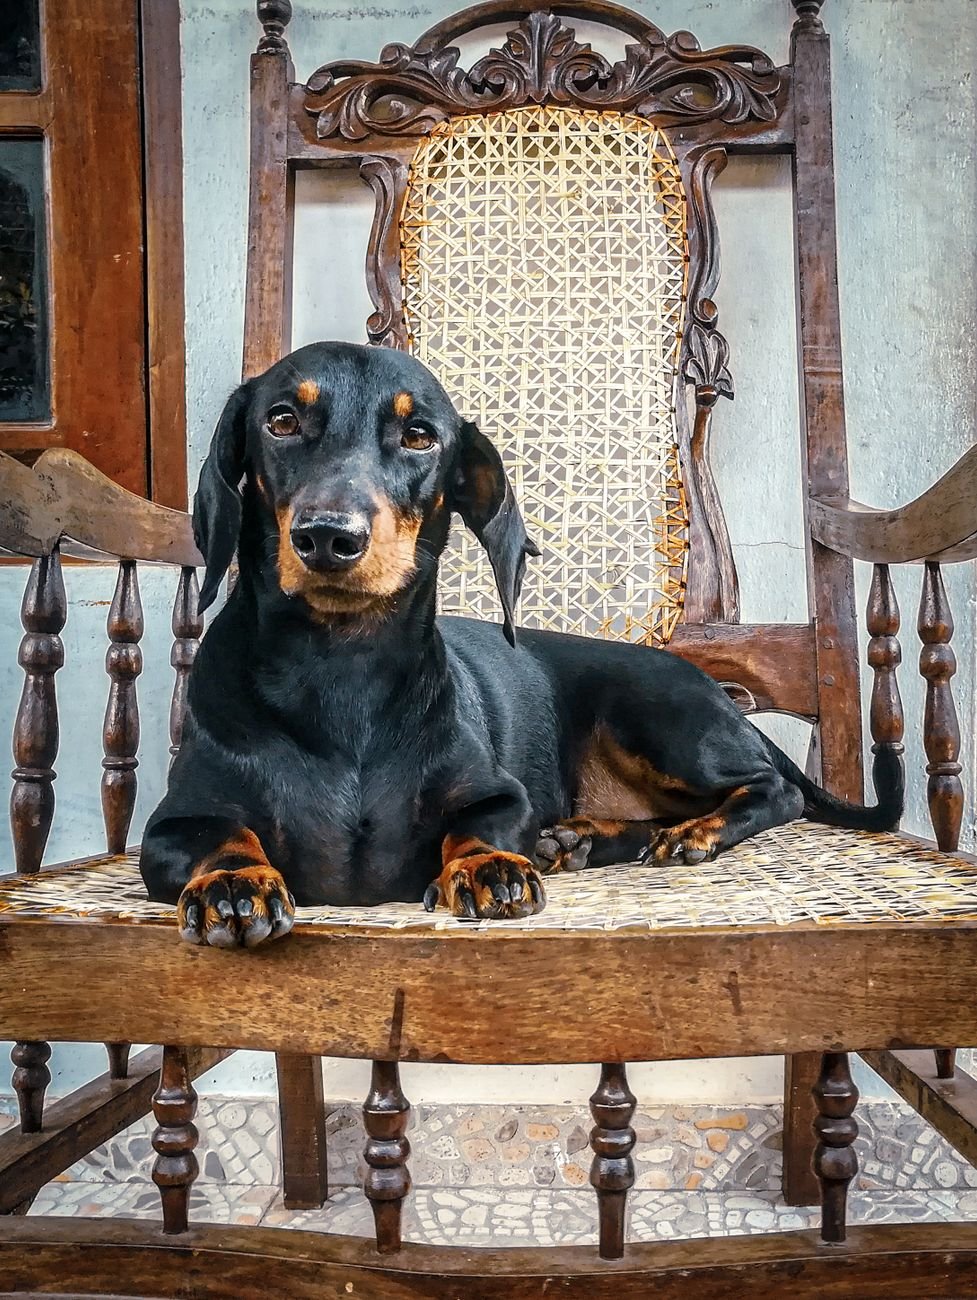
- Long-backed breeds like dachshunds, corgis and basset hounds
- Small and toy breeds on tall beds
- Dogs recovering from surgery or an injury (ask your vet when they can use it)
Ramp or stairs? For back-prone dogs, a ramp is usually the gentler choice, since there’s no step-by-step hopping. If your dog has a back or joint condition, ask your vet which they’d prefer.
Get the slope right first
The angle makes or breaks a ramp. Too steep, and your dog won’t use it.
- Aim for about 18 to 20 degrees. Shallower is better for tiny, senior or nervous dogs.
- Quick rule: ramp length is about 3 times the bed height.
- A 20-inch bed needs about a 5-foot ramp.
- A 24-inch bed needs about a 6-foot ramp.
- A 30-inch bed needs about a 7.5-foot ramp.
Yes, that’s long. If you don’t have the floor space, a ramp with a landing halfway, or a lower bed frame, may work better.
- Works for puppies, adults, rescues and seniors
- One page per problem, step by step
- Printable PDF, free
Materials and tools
Everything here is at any home improvement store.
- 3/4-inch plywood for the deck (plain sanded plywood, not pressure-treated)
- 1×4 or 2×4 boards for the side rails and legs
- Wood glue and 1 1/4-inch and 2 1/2-inch wood screws
- Low-pile carpet runner or a rubber-backed mat for grip
- Construction adhesive or carpet tape
- Sandpaper, a drill, a saw and a tape measure
- Optional: water-based, low-VOC paint or sealer for the frame
Pressure-treated lumber is made for outdoor use and doesn’t belong inside where your dog sleeps and licks things.
Step 1: Measure the bed
Measure from the floor to the top of the mattress, not the frame. Then measure how much floor space you have beside the bed.
Step 2: Work out the length and width
- Length: bed height times 3, as above.
- Width: about 12 to 16 inches for small dogs, 16 to 20 inches for medium dogs.
Wider feels safer. A nervous dog will happily use a ramp that feels like a hallway.
Step 3: Cut the deck and side rails
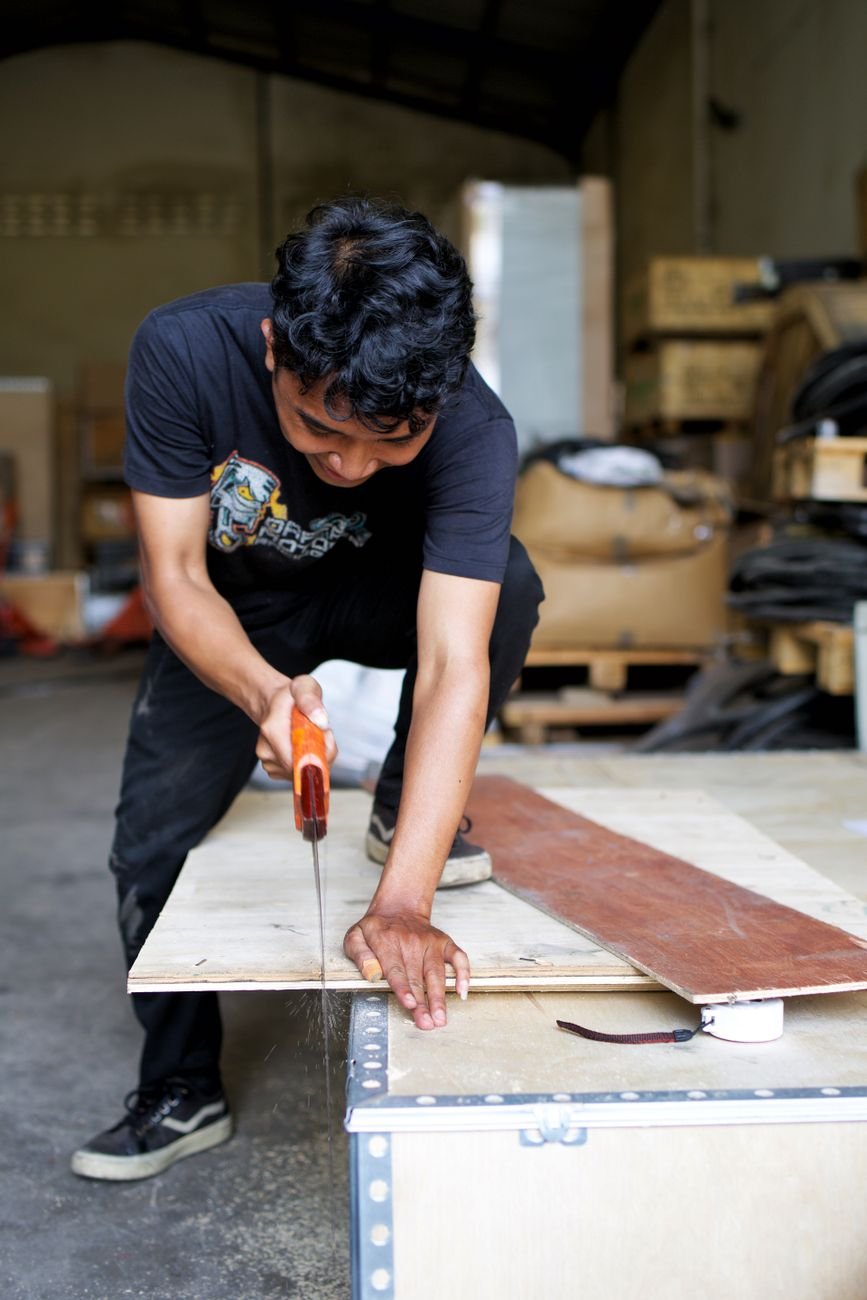
- Cut the plywood deck to your length and width.
- Cut two side rails from 1×4 boards, the same length as the deck.
- The rails stand up 2 to 3 inches above the deck, so paws don’t slide off the edge.
- Sand every edge and corner until it’s smooth.
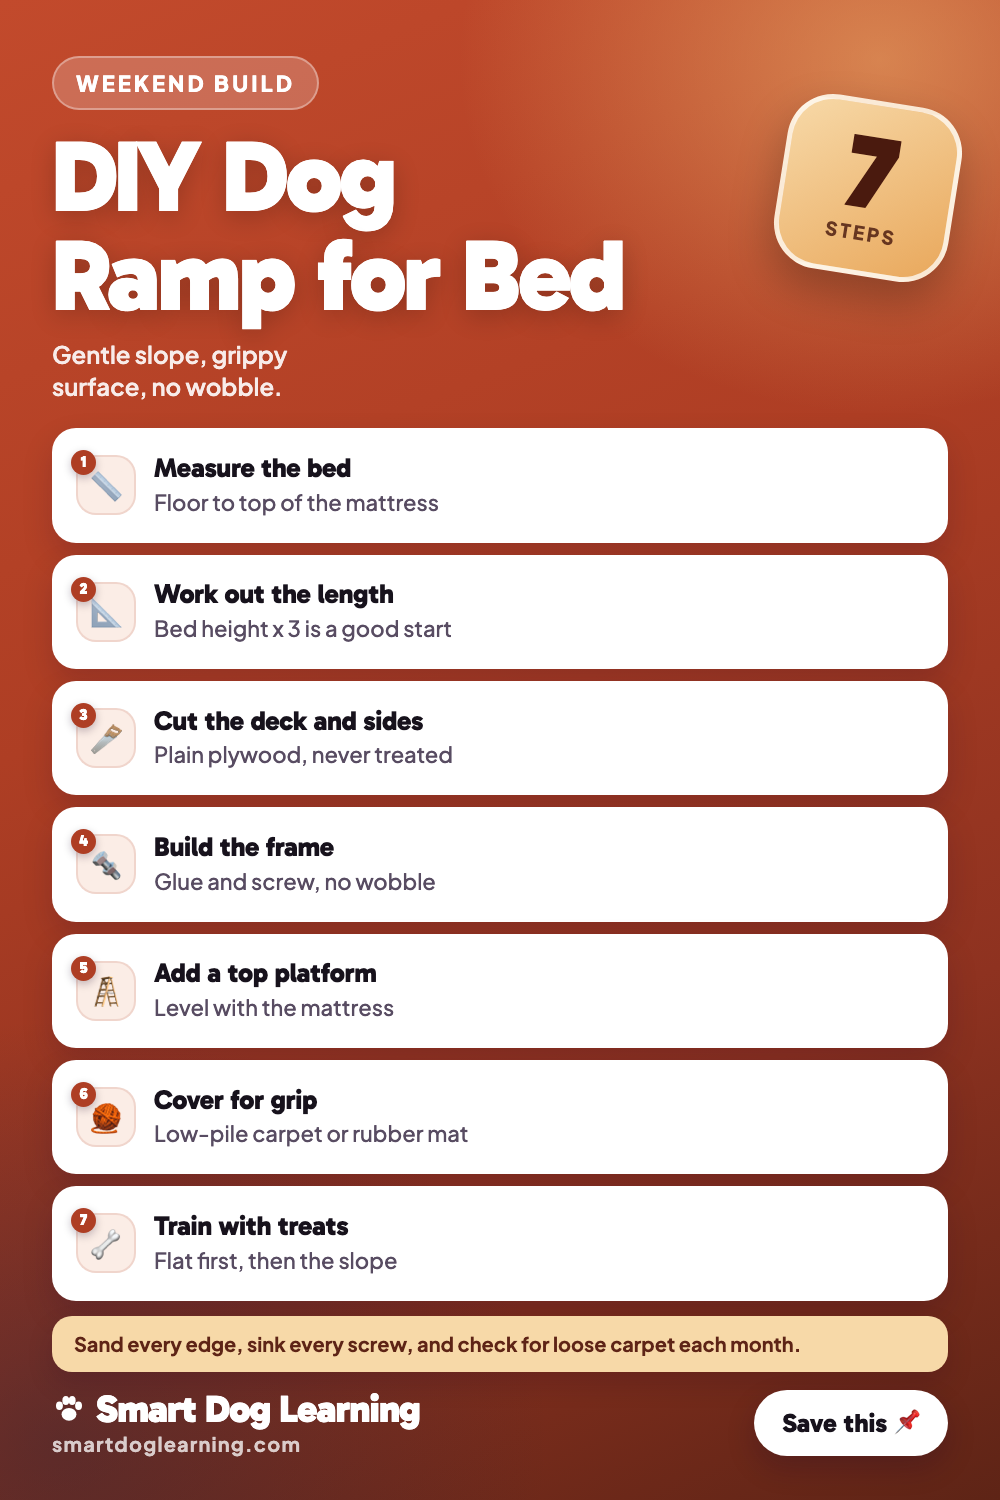
Step 4: Build a sturdy frame
Wobble is the number one reason dogs refuse a ramp. Build it solid.
- Glue and screw the side rails to the edges of the deck.
- Add 2×4 legs under the top end, and a cross brace in the middle for long ramps.
- Countersink every screw so no heads stick up.
- Glue a strip of rubber shelf liner under the feet so the ramp doesn’t slide.
Step 5: Add a top platform
A small flat landing at the top, level with the mattress, makes the hop-off easy.
- About 12 by 12 inches is plenty for small dogs.
- Let it rest on or butt against the bed so there’s no gap to catch a paw.
- For extra safety, strap the ramp to the bed frame so it can’t shift.
Step 6: Cover it for grip
Bare plywood is slippery, especially for older dogs.
- Glue down a low-pile carpet runner or rubber mat across the whole deck and platform.
- Wrap the edges under the deck and fix them there, so nothing loose sits on top.
- Avoid shaggy carpet. Long loops catch nails.
- Check monthly for lifting corners or loose fibers, since a chewer can pull them up.
Paint or seal only the frame, never the walking surface, and let any finish cure fully before your dog uses it.
Step 7: Teach your dog to use it
Most dogs need a little coaching. Keep sessions short and sweet.
- Lay the ramp flat on the floor and toss treats along it.
- Prop the top end up a few inches and repeat.
- Set it against the bed and lure your dog up with a treat, step by step.
- Practice coming down too, slowly, with a hand on the harness at first.
Celebrate every trip. A few days of practice is normal.
Before the first real use, do a quick safety check:
- Press down hard on the top and middle. Nothing should flex, creak or slide.
- Run your hand along every edge for splinters or screw heads.
- Make sure the carpet is stuck down flat with no loose threads.

No-tools options
Not up for a woodworking project? These are simpler.
- Foam wedge ramp: a high-density foam wedge in a washable cover. Best for low beds and couches.
- Lower the bed: remove the box spring or use a lower frame.
- A cozy floor bed: let your dog sleep beside you instead. Our DIY dog bed ideas include a senior memory-foam build.
Whatever you choose, skip stacked boxes or loose cushions. They shift, and that’s how falls happen.

Common questions
What angle should a dog ramp be?
About 18 to 20 degrees is a comfortable slope for most dogs. Go even shallower for tiny or senior dogs.
How long should a dog ramp for a bed be?
A quick rule is three times the bed height, so a 24-inch bed needs roughly a 6-foot ramp.
Are ramps better than stairs for dachshunds?
Ramps are often recommended for long-backed dogs because there’s no hopping. Ask your vet for your dog’s case.
What’s the best surface for a dog ramp?
Low-pile carpet or a rubber mat, glued down firmly with the edges wrapped underneath.
My dog won’t use the ramp. What now?
Check for wobble and slipperiness, lower the angle if you can, then retrain with treats starting flat on the floor.



Leave a Reply