How To Make A DIY Grout Cleaner For Sparkling Tile Floors
Let’s skip the lecture and fix that dingy grout already. You don’t need fancy chemicals or a hazmat suit—just a few pantry staples and a little elbow grease. I’ll show you an easy DIY cleaner that actually works, plus pro tips so you don’t wreck your tiles in the process. Ready to make your floors look brand-new for basically pocket change?
Why Grout Looks Gross (And How DIY Wins)
Grout is porous. It drinks up spills, body oils, and muddy paw prints like a frat house carpet. Store-bought cleaners can help, but they’re often pricey, stinky, and harsh on certain tiles.
DIY gives you control. You can tweak the formula for ceramic, porcelain, or natural stone. And bonus: you probably own everything you need already. Cheap, effective, and customizable—what’s not to love?
The Core DIY Grout Cleaner Formula
Here’s the reliable, safe-on-most-tiles recipe I reach for first. It cuts grease, lifts stains, and doesn’t nuke your nose.
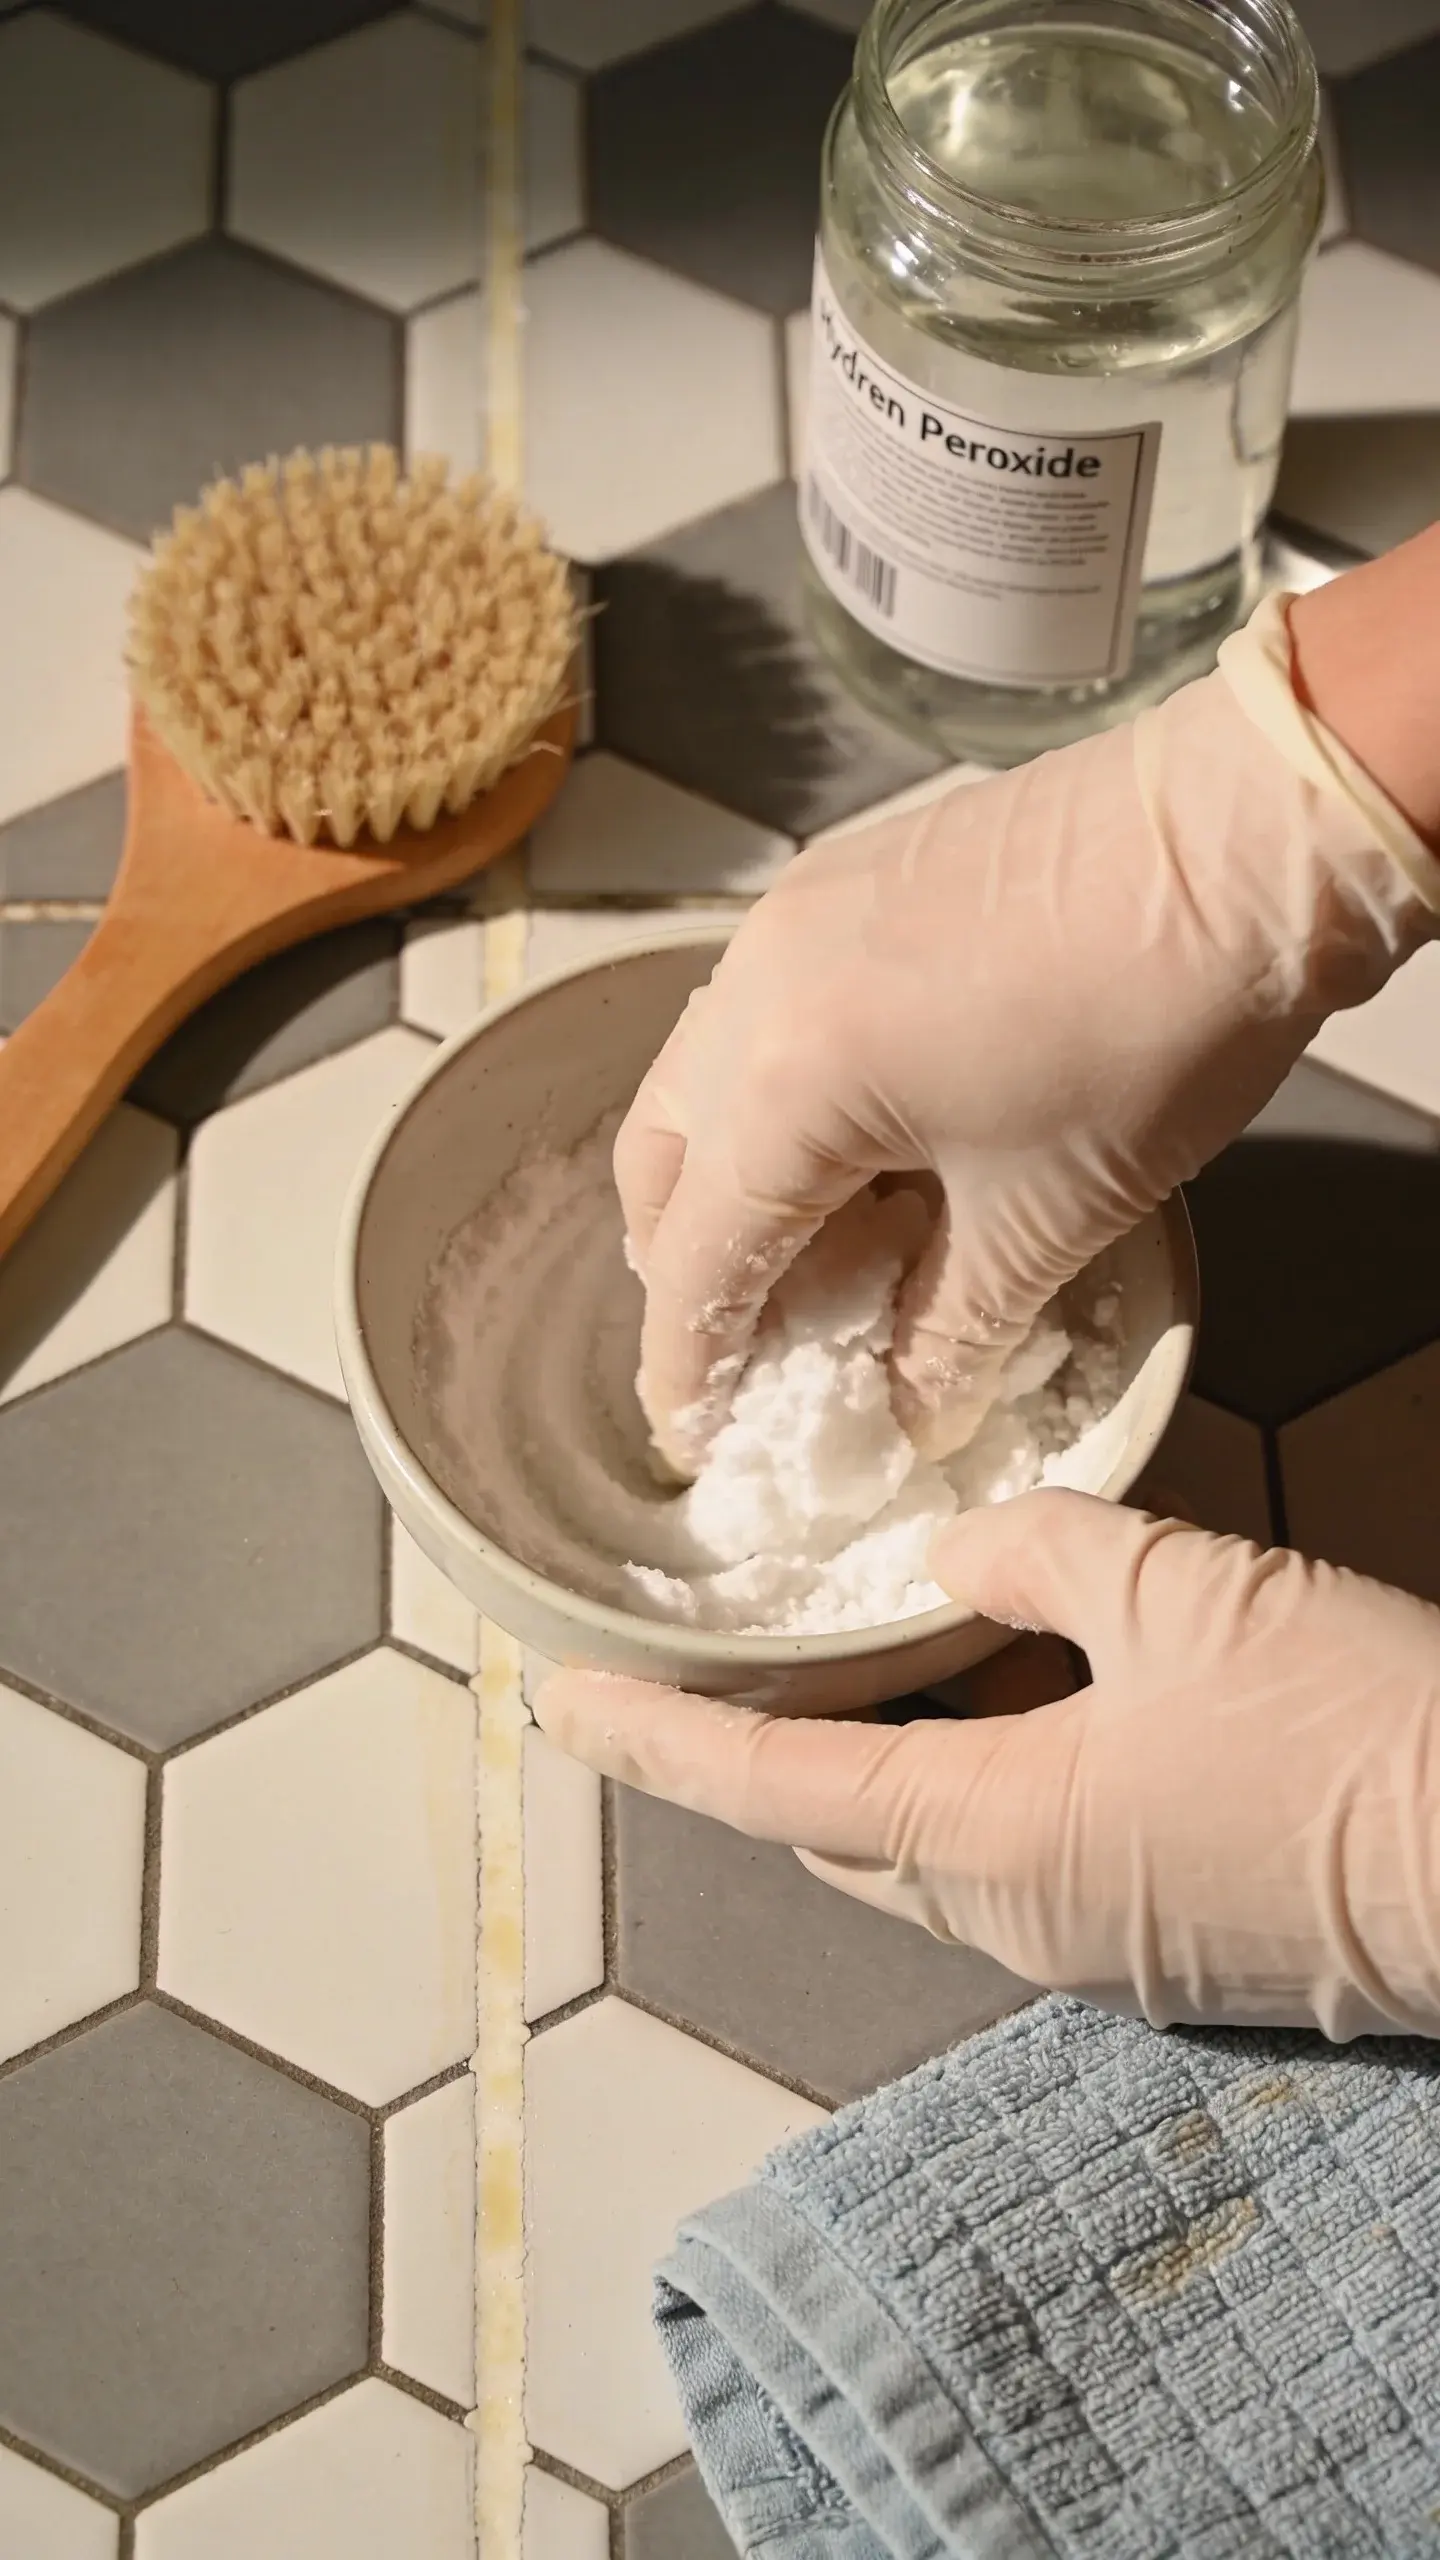
Base Paste (for routine grime):
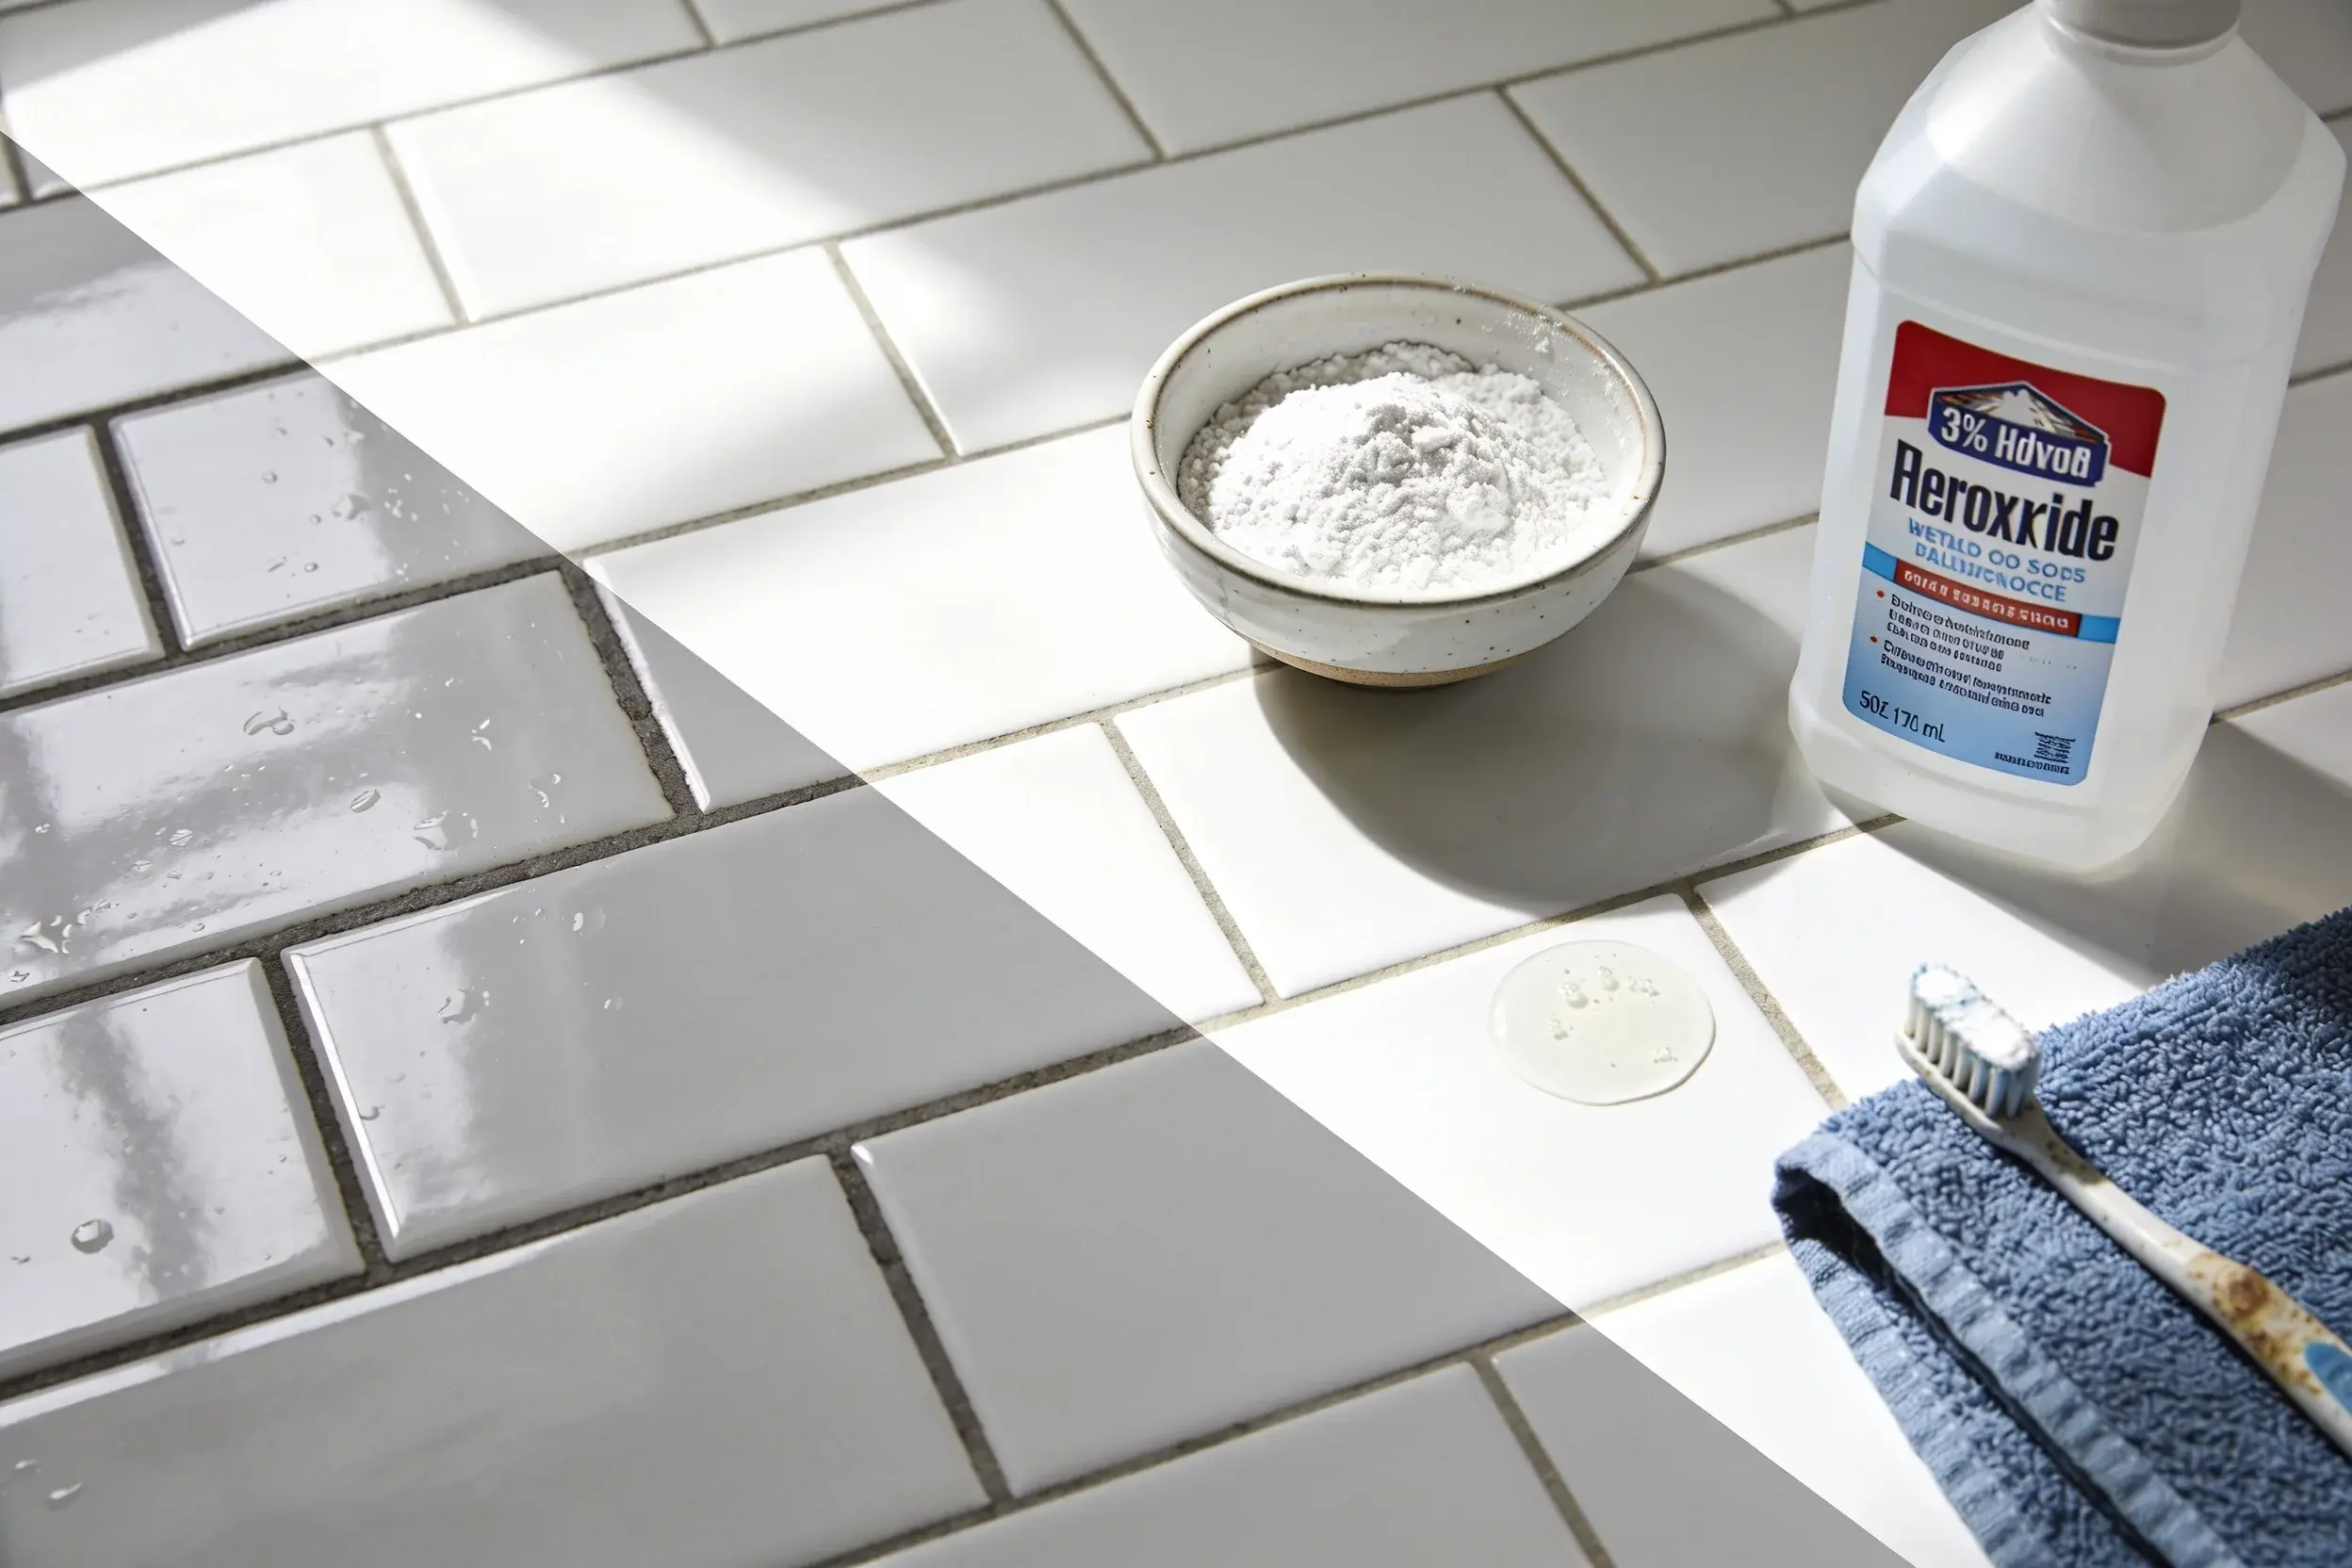
- 1/2 cup baking soda
- 1/4 cup 3% hydrogen peroxide
- 1 teaspoon mild dish soap
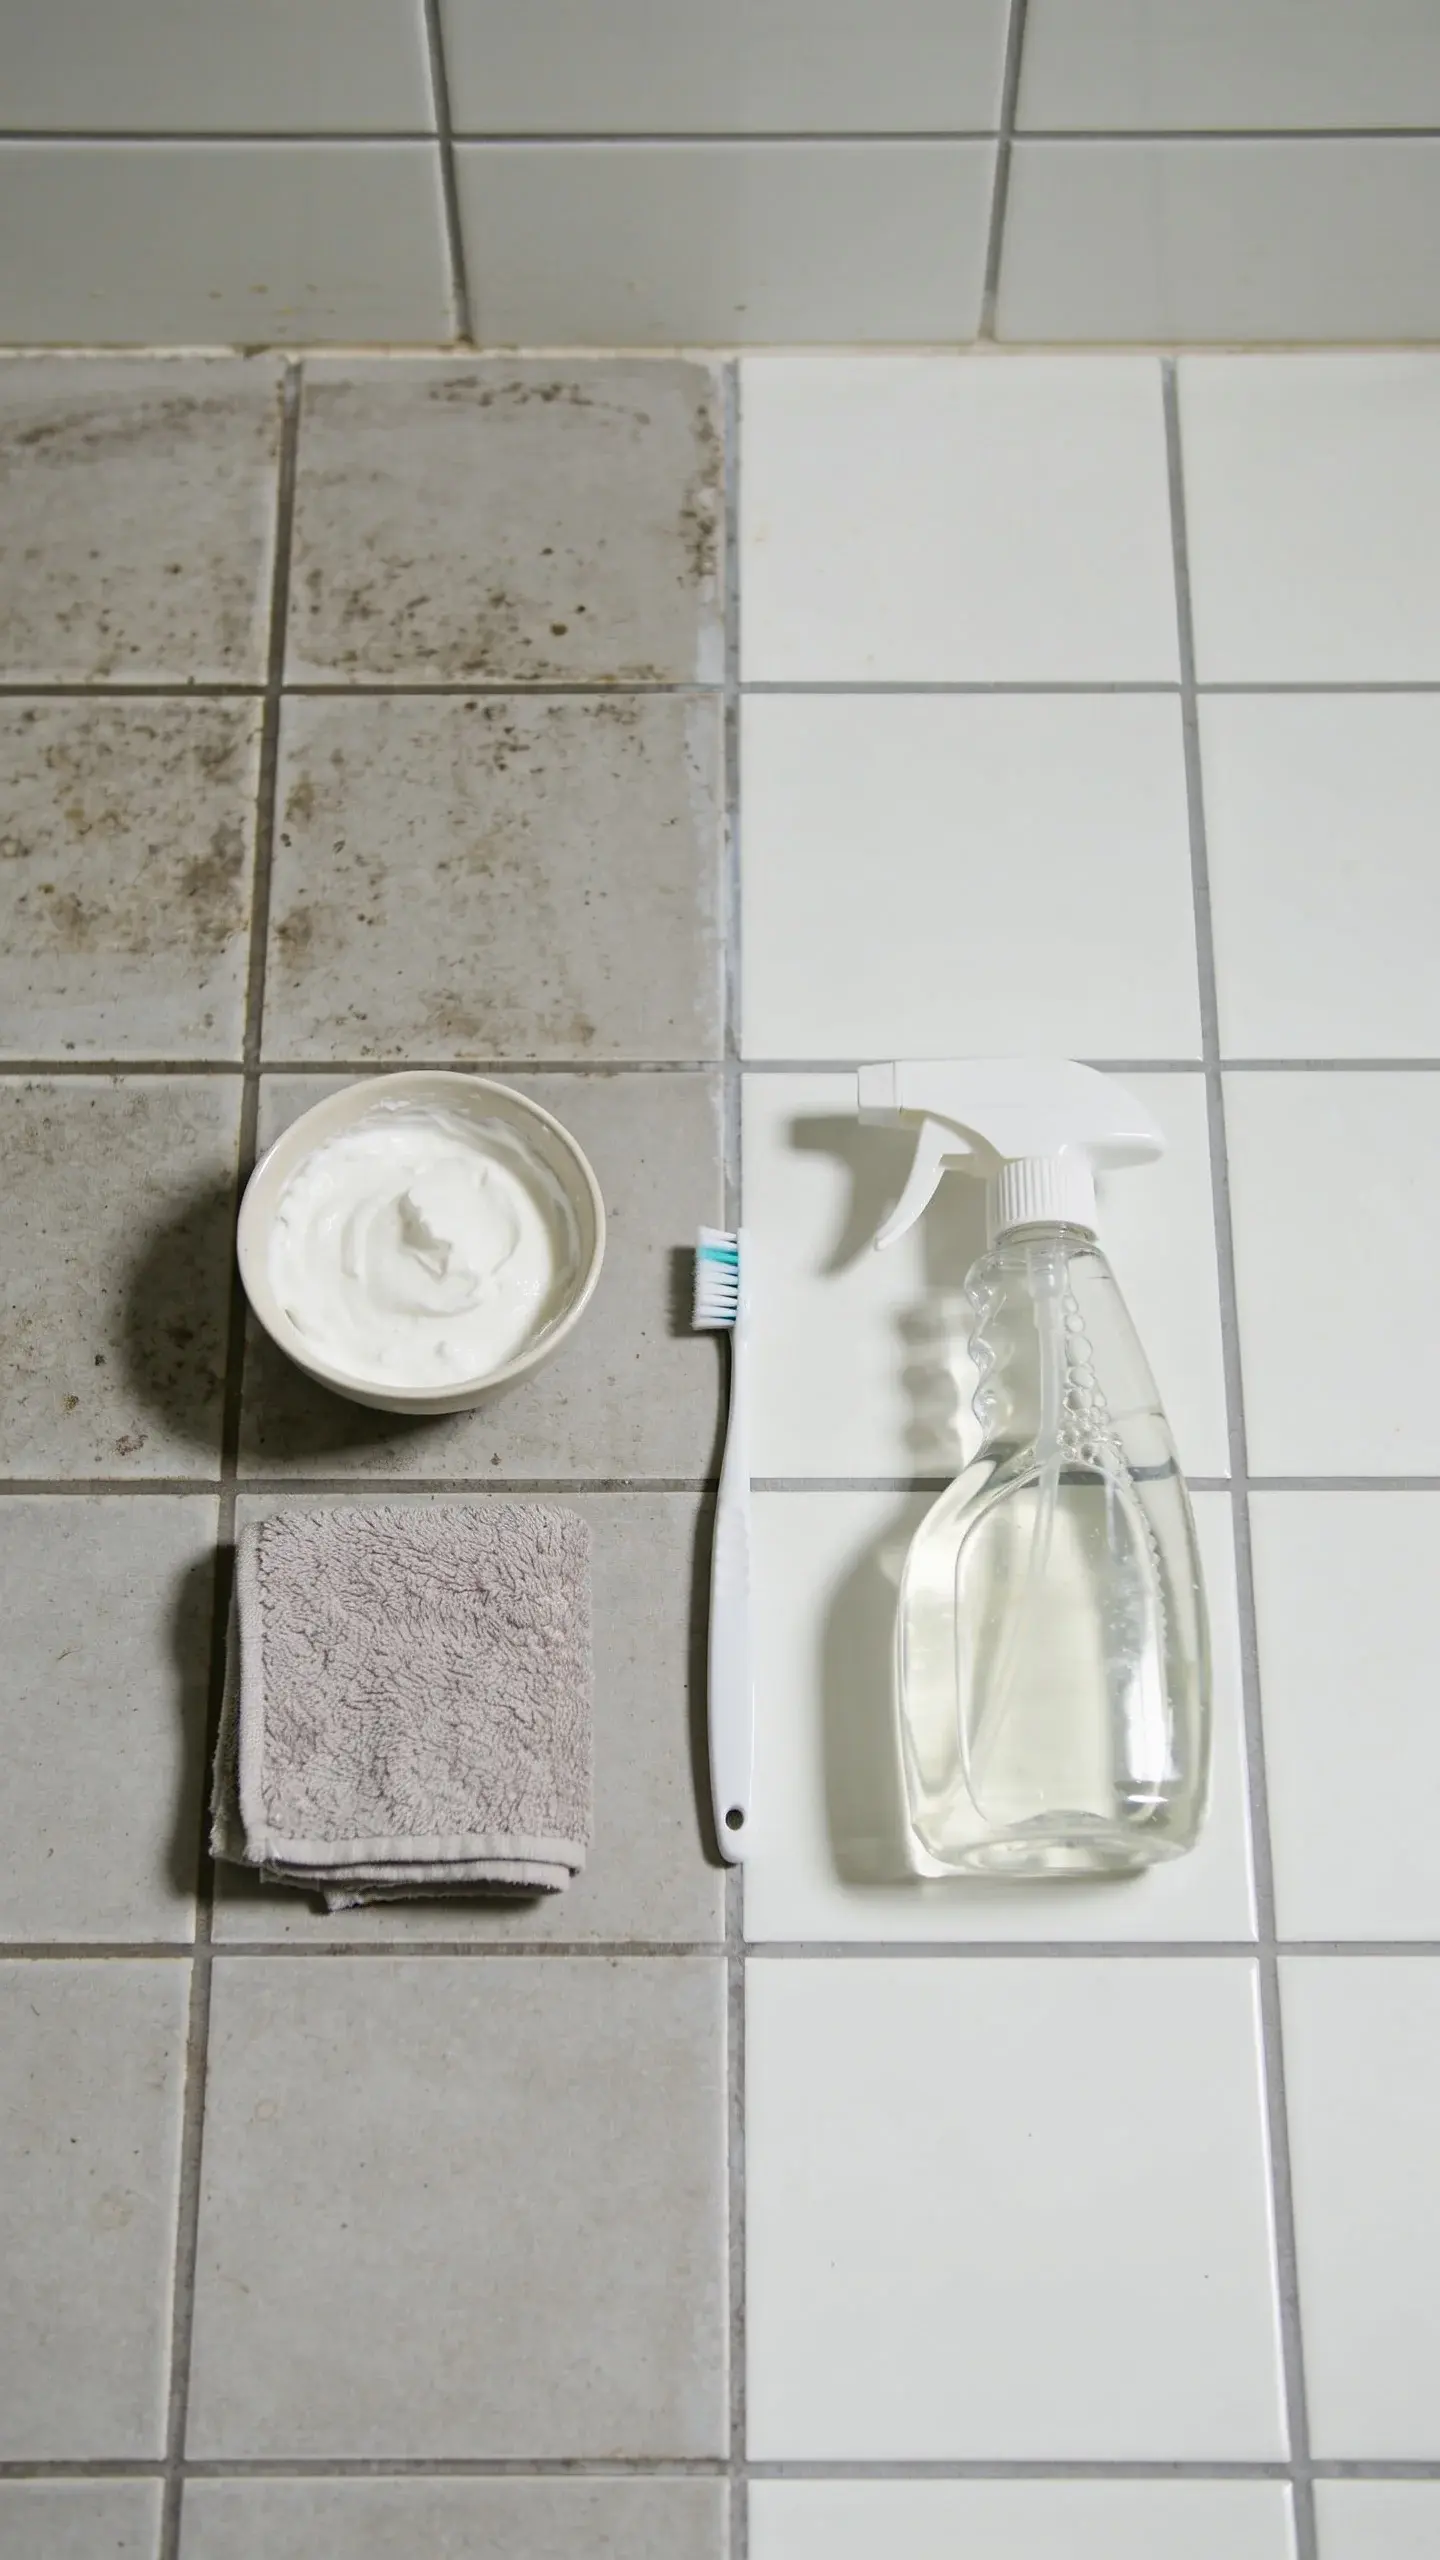
Instructions:
- Mix into a spreadable paste. If it’s runny, add a bit more baking soda.
- Apply to grout lines and let sit 5–10 minutes.
- Scrub with a stiff nylon brush or old toothbrush.
- Wipe up residue with a damp microfiber cloth, then rinse with clean water.
Why it works:
- Baking soda = gentle abrasive + deodorizer.
- Hydrogen peroxide = oxidizer that lifts stains and sanitizes.
- Dish soap = breaks down greasy grime so it actually lifts.
Patch Test Like A Pro
Always test a tiny hidden spot first. Let it dry and check for lightening or dullness. IMO, five quiet minutes here beats five loud hours of regret later.
Tweak The Mix For Your Tile Type
Not all grout and tile combos like the same cocktail. Adjust based on what you’ve got.
Ceramic or Porcelain Tile
– You’re in the safe zone. Use the core paste as-is.
– For stubborn stains, extend dwell time to 15 minutes and rescrub.
Natural Stone (Marble, Travertine, Limestone, Slate)
– Skip acids like vinegar or lemon—those etch stone. Big no.
– Swap hydrogen peroxide for distilled water if your stone is sensitive, or use a stone-safe oxygen cleaner per label.
– Use a soft brush. No wire, ever.
Epoxy Grout
– It resists stains but still gets surface gunk. Use a diluted version: 2 tbsp baking soda + 1 cup warm water + a drop of dish soap.
– Avoid heavy abrasives that could dull glossy tiles.
Level Up: Stain-Busting Add-Ons
If the base paste doesn’t nail it, try these situational boosts.
For Moldy, Mildewy Lines
– Mix 1/2 cup baking soda + 1/4 cup hydrogen peroxide + 1 tsp dish soap + 5 drops tea tree oil (optional, FYI it smells clean).
– Ventilate the room. Apply, wait 15 minutes, scrub, rinse well.
For Greasy Kitchen Grout
– Add 1 tsp washing soda (not baking soda) to the base paste for more degreasing power.
– Wear gloves; washing soda is alkaline and can be drying.
For Rust Or Orange Stains
– Try a paste of baking soda + a splash of hydrogen peroxide and gentle repeated applications.
– If that fails, use a stone-safe, tile-safe specialized rust remover—follow directions to the letter.
Tools That Make It Way Easier
You don’t need gadgets, but they help. A lot.
- Nylon grout brush: Stiffer than a toothbrush, still tile-safe.
- Old electric toothbrush: Mini power scrubber hack. Chef’s kiss.
- Detail brush set: Narrow heads get into tight joints.
- Microfiber cloths: Lift residue without scratching.
- Spray bottle: For quick rinses between scrubs.
- Knee pads: Your future self will thank you.
The Step-By-Step Cleaning Game Plan
Follow this flow and you’ll finish faster with better results.
- Vacuum or sweep to get rid of grit. Scrubbing dirt = scratching tiles.
- Pre-wet grout lightly with warm water. Damp grout accepts cleaner better.
- Apply paste along a few lines at a time. Don’t coat the whole floor—work in zones.
- Wait 5–10 minutes. Let chemistry do the heavy lifting.
- Scrub with short back-and-forth strokes. Focus on lines, not tile faces.
- Wipe and rinse with clean water until no residue remains.
- Dry thoroughly with towels to prevent fresh water marks.
Dealing With Super Stained Grout
– Repeat the process 1–2 more times. Deep stains sometimes need rounds.
– If areas still look shadowed, consider oxygen bleach (sodium percarbonate) mixed per label, especially for light-colored grout. Rinse extremely well.
Keep It Clean: Easy Maintenance Habits
Preventing grime beats scrubbing it out every month, IMO.
- Weekly: Quick mop with warm water + a few drops of dish soap. Rinse with plain water.
- Monthly: Spot-treat high-traffic grout with the diluted cleaner.
- Seal grout every 6–12 months (or as the sealer recommends). Sealer = slower staining, easier cleaning.
- Vent bathrooms after showers. Dry floors fast to block mildew.
- Kill spills immediately. Coffee and tomato sauce are petty and vengeful.
Safety Notes You’ll Actually Read
I promise these matter, and they’re quick.
- Never mix hydrogen peroxide with vinegar in the same container—it forms peracetic acid, which can irritate skin and lungs.
- Avoid bleach with ammonia or vinegar. Toxic fumes aren’t a vibe.
- Gloves and ventilation keep your skin and lungs happy.
- Label any leftover cleaner and store it out of reach of kids and pets. Honestly, just mix fresh—baking soda + peroxide loses punch over time.
FAQ
Can I use vinegar on grout?
On ceramic or porcelain tile with cement grout, diluted vinegar can help with soap scum—but it can also weaken grout over time. I skip it for routine cleaning and never use it on natural stone. The baking soda + peroxide paste is a safer default.
Is hydrogen peroxide safe for colored grout?
Typically yes at 3% strength, but always patch test. Some deeply pigmented or very old grout may lighten. If you feel nervous, use the dish soap + warm water route first and step up only if needed.
How often should I seal my grout?
Most households do well every 6–12 months, depending on foot traffic and cleaner use. Test by sprinkling water on clean, dry grout: if it darkens immediately, it’s time to reseal. Kitchens and entryways usually need it more often than guest baths.
My grout still looks dark after cleaning—what now?
Try a second round, then consider an oxygen bleach soak (tile-safe, stone-dependent). If staining is permanent, a grout color sealer can refresh the look and protect it. Worst case, regrouting small sections isn’t as scary as it sounds.
Do steam cleaners work on grout?
Yes, with care. Steam lifts grime and kills bacteria, but keep the nozzle moving and avoid porous natural stone. Follow with a microfiber wipe so loosened gunk doesn’t resettle.
Can I make a big batch of the paste to store?
I wouldn’t. The reaction fizzles out and loses oomph. Mix small batches fresh—takes 60 seconds and works better.
Conclusion: Your Floors, But Make Them Sparkle
You don’t need industrial potions to rescue grimy grout. With baking soda, hydrogen peroxide, and a little scrubbing, you’ll revive those lines and make your tile pop again. Seal it, keep up a quick routine, and you’ll spend way less time on your knees with a brush. FYI: that brag-worthy sparkle? You’re about 30 minutes away.

I’ve spent 10+ years in dog training, digging into what makes dogs (and their humans) tick. At Smart Dog Learning, I share my no-nonsense, fun approach to training so you can enjoy life with a well-behaved, happy pup—no boring lectures, just practical results 😉