
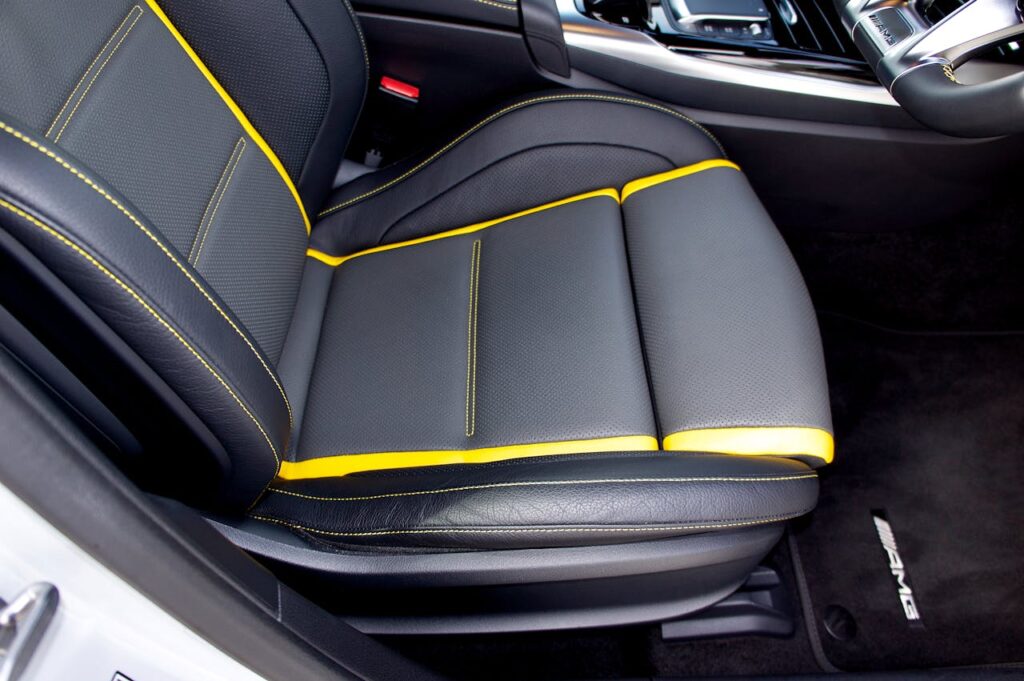
How to Clean Leather Car Seats: A Step-by-Step Guide
Leather car seats give your car that extra touch of luxury. But keeping them clean? That’s a different story.
Between spills, crumbs, and the mysterious grime that seems to appear out of nowhere, maintaining leather seats can feel like a chore.
But don’t worry. Here’s how to clean your leather car seats the right way, without damaging that precious leather.
Why You Should Clean Your Leather Seats Regularly
Let’s get one thing straight—regular cleaning is key. Leather is like your skin: if you don’t take care of it, it’ll start to look tired, cracked, and dull. Dirt, oils, and grime build up over time, especially if you’re hopping in and out of your car constantly. And let’s not even talk about the toll that sweat can take on your seats.
The moral of the story? Clean your leather seats often—once a month is a good rule of thumb. This keeps them looking fresh and extends their lifespan. After all, who wants to sit on cracked, worn-out leather? Not you.
Step 1: Vacuum First (Let’s Get Rid of the Crumbs)
Before you grab any cleaner, vacuum the seats. Leather seats may be fancy, but they can’t hide crumbs, dirt, or sand forever.

Use a vacuum with a soft brush attachment to avoid scratching the leather. Pay extra attention to the seams and crevices—those sneaky spots collect more junk than you think.
Wondering why you need to vacuum before cleaning? Because dirt and debris can act like sandpaper on your leather when you start scrubbing. And let’s be honest, you don’t want to ruin your seats over a few leftover chips.
Step 2: Use a Leather Cleaner (Not Just Any Old Soap)
Alright, time to clean. But please, don’t grab the dish soap. Leather is delicate, and using the wrong cleaner can do more harm than good. You need a cleaner specifically made for leather. These are gentle enough not to strip away the natural oils but effective enough to lift dirt and grime.
Grab a microfiber cloth (because leather deserves better than your old gym rag) and apply a bit of cleaner to the cloth—not directly to the seat. Gently rub in circular motions, working your way across the seat. Start small, and test in an inconspicuous spot first. The last thing you want is a nasty surprise with discoloration.
If you don’t want to pay for pro leather cleaners, you can also try this simple DIY solution:
Ingredients:
- 1 part white vinegar
- 2 parts distilled water
- A few drops of olive oil (optional for conditioning)
Instructions:
- Mix the ingredients in a spray bottle or bowl.
- Lightly spray or dab the mixture onto the leather surface.
- Use a soft cloth or microfiber towel to gently clean the leather.
- Wipe off any excess with a clean, damp cloth.
- Let it air dry naturally.
This cleaner is gentle and effective for leather surfaces!
Step 3: Don’t Forget the Seams and Crevices

Now, you may be tempted to call it quits after wiping the main part of the seat. But hold up—don’t forget the seams and crevices. These tight spots collect grime faster than you realize, and trust me, once you see the dirt build-up, you’ll never unsee it.
Use a soft-bristle toothbrush or detailing brush to get into those hard-to-reach places. It may sound like a lot of work, but this step makes a huge difference in how clean your seats look.
Step 4: Wipe It Down (Don’t Leave It Wet)
Once you’ve cleaned the seat, you need to wipe it down with a dry, clean microfiber cloth. Leather doesn’t love moisture—if it stays wet too long, it could stain or become sticky. Gently wipe off any excess cleaner, making sure to dry the surface thoroughly.
Wondering why this step matters? Because letting the cleaner sit on the leather can actually make it look worse. Leather needs to breathe, so always make sure you’re drying it off properly.
Step 5: Condition the Leather (It’s Like Moisturizer for Your Seats)
Cleaning isn’t enough—you also need to condition the leather. Just like your skin, leather can dry out and crack over time if you don’t keep it moisturized. A good leather conditioner helps replenish the natural oils and keeps the leather soft, supple, and looking brand new.
Apply a small amount of conditioner to a microfiber cloth and rub it into the leather in circular motions. Focus on the areas that get the most wear, like the driver’s seat. Don’t overdo it, though—too much conditioner can make the leather greasy. Less is more!
Let the conditioner sit for about 10-15 minutes, then buff the seats with a clean cloth. Your leather will look (and feel) as smooth as butter.
Step 6: Repeat Monthly (Or Whenever Life Happens)
Here’s the thing: leather needs regular care. Cleaning and conditioning your seats once in a blue moon isn’t going to cut it. Aim to clean your leather seats at least once a month, or more often if your car is your second home (looking at you, road-trippers and dog lovers).
If something spills or your seats get dirty in between cleanings, don’t wait. The quicker you tackle the mess, the less damage it’ll do. Leather can be stubborn when it comes to absorbing stains, so a quick response is key.

Common Mistakes to Avoid
Now that you know the process, let’s talk about what not to do. Cleaning leather can be tricky, and one wrong move can lead to long-term damage.
- Using household cleaners: Just because it works on your counters doesn’t mean it’s safe for leather. Harsh chemicals can strip leather of its oils and cause it to dry out and crack.
- Scrubbing too hard: Leather is tough but not indestructible. Scrubbing too hard can scratch or dull the surface.
- Skipping the conditioner: If you clean without conditioning, you’re setting your leather up to dry out. Conditioning is what keeps it soft and prevents cracking.
- Letting moisture sit: Don’t forget to dry your seats after cleaning. Moisture can lead to mildew or staining, which isn’t exactly what you want from your luxury leather.
Final Thoughts
Cleaning leather car seats doesn’t have to be a hassle, but it does take a little know-how. The key is to clean and condition regularly. Use the right products, avoid harsh chemicals, and don’t be afraid to spend a little extra time on those seams and crevices.
Your car’s leather seats are an investment, and with the right care, they’ll stay looking sleek for years to come. Now go show your seats some love—they deserve it!
Printable Recipe Card
Want just the essential recipe details without scrolling through the article? Get our printable recipe card with just the ingredients and instructions.

I’ve spent 10+ years in dog training, digging into what makes dogs (and their humans) tick. At Smart Dog Learning, I share my no-nonsense, fun approach to training so you can enjoy life with a well-behaved, happy pup—no boring lectures, just practical results 😉