DIY Dog Paw Balm for Itchy and Cracked Paws – VERY Simple To Make!
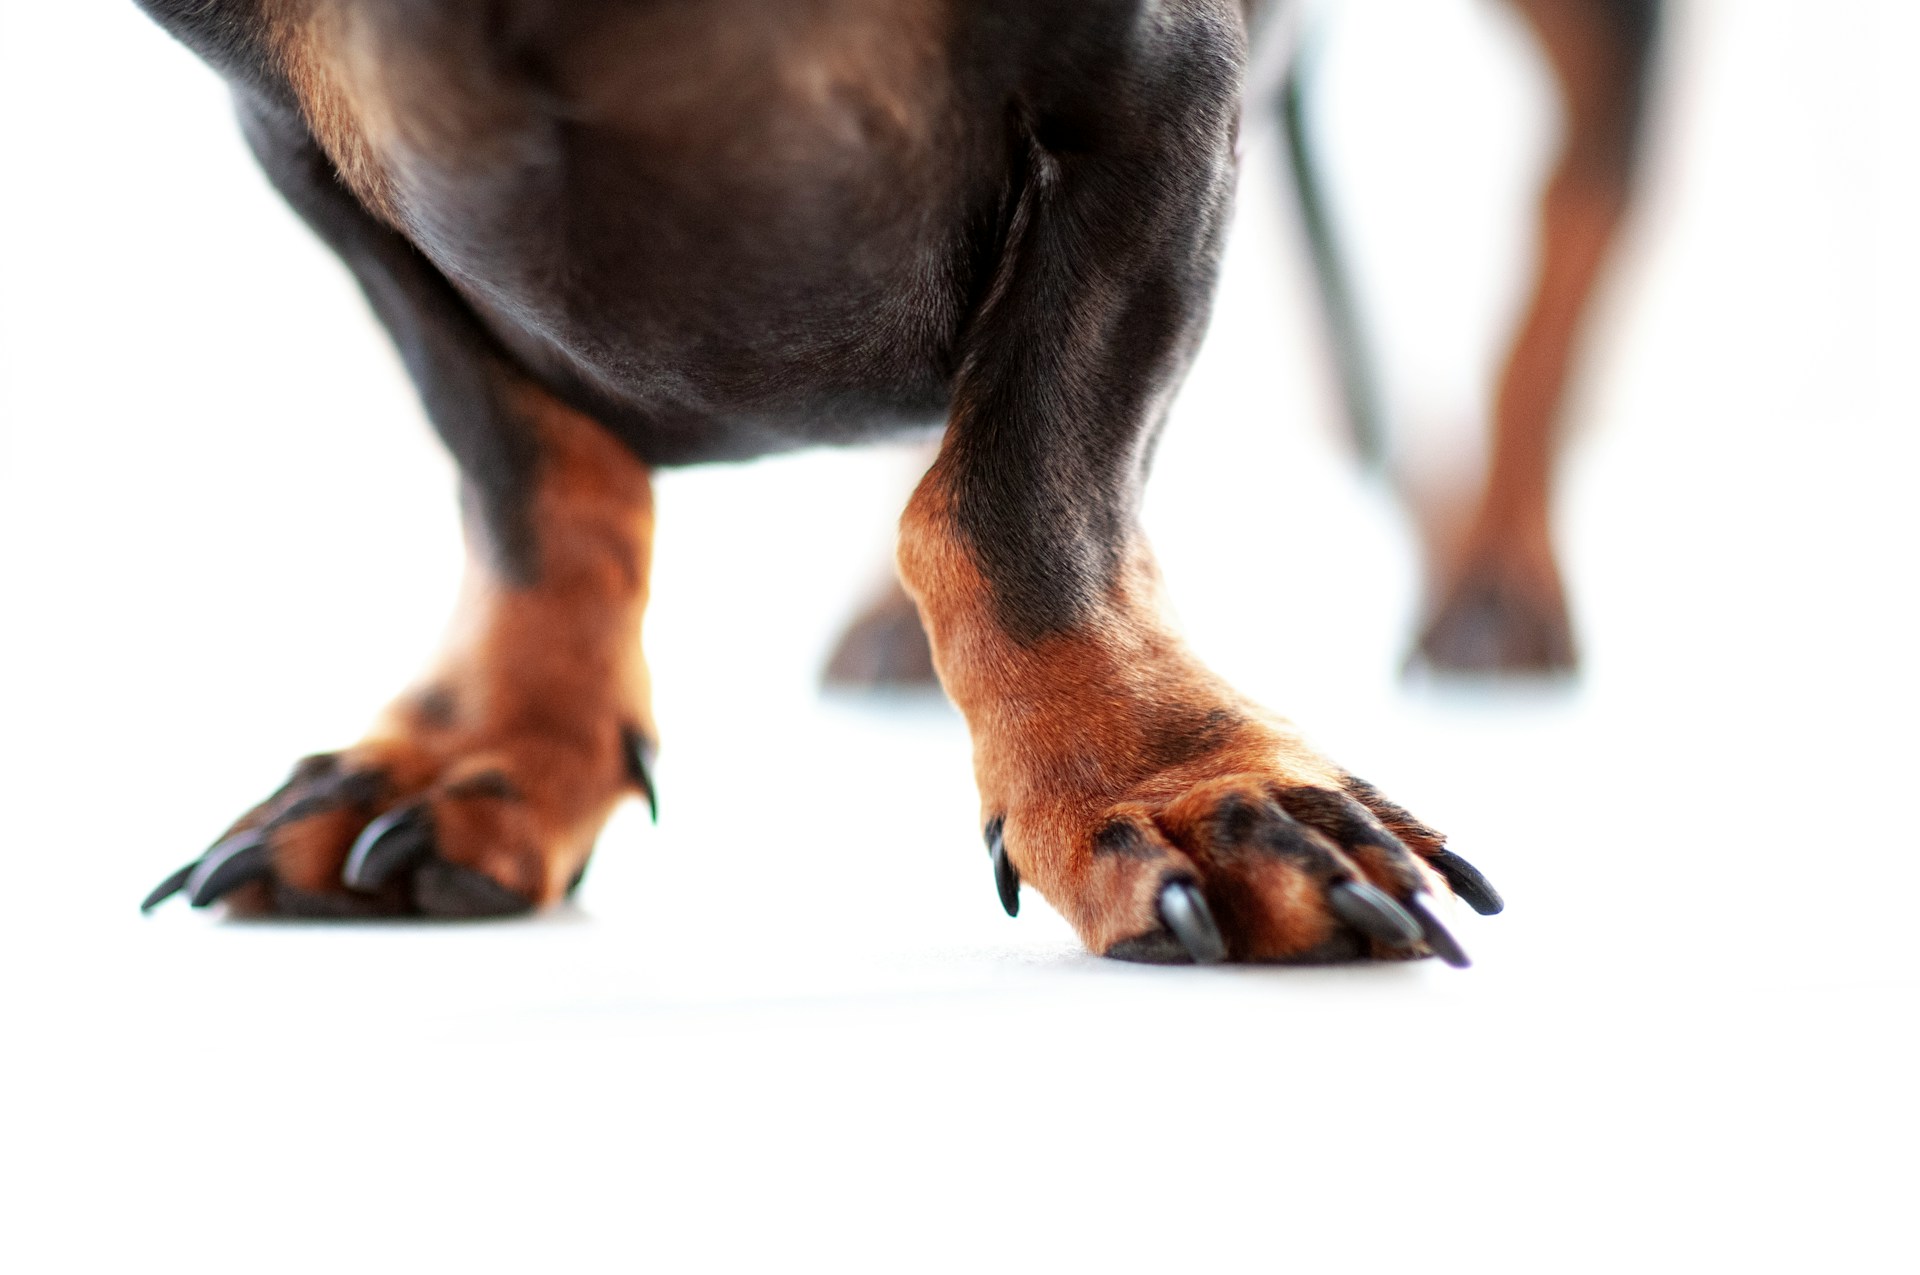
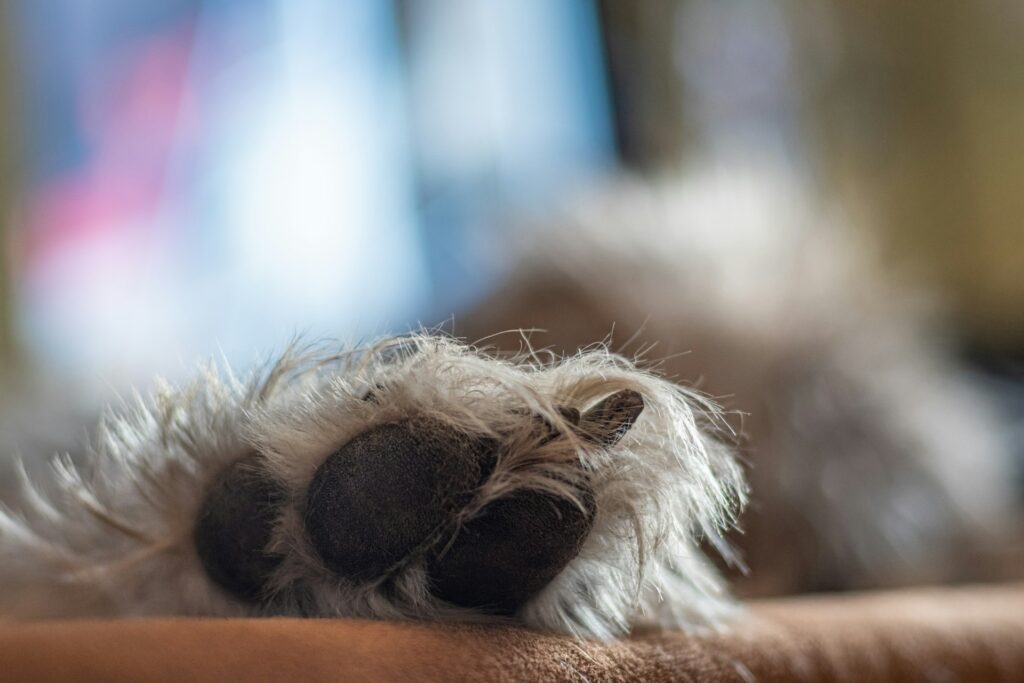
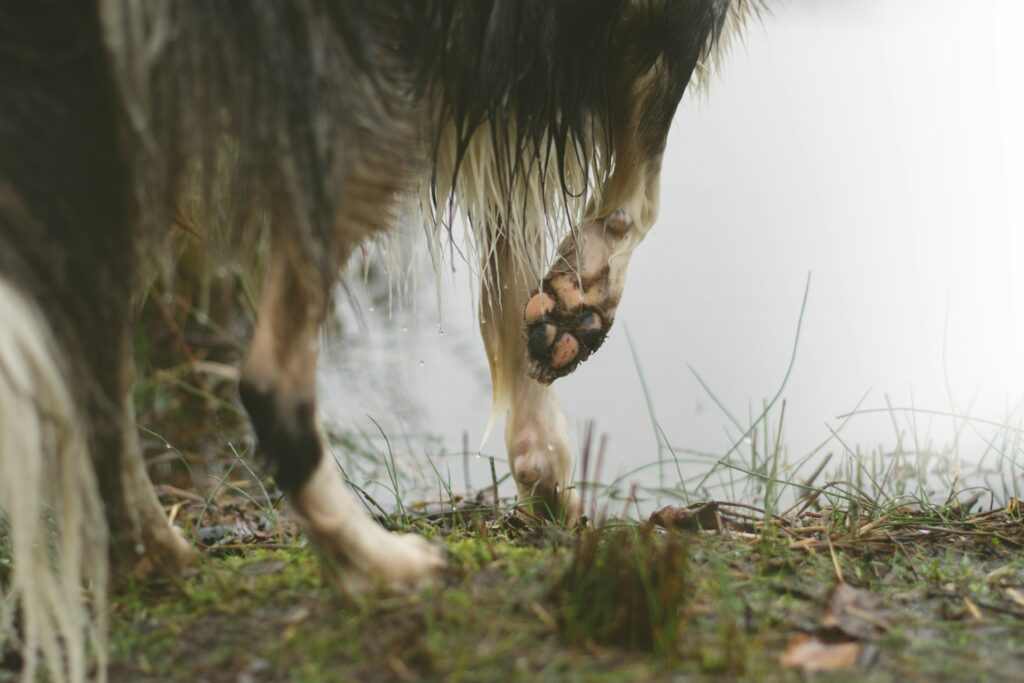
Ever noticed your dog’s paws looking dry, cracked, or even a little sore? Maybe they’re licking their pads more than usual or hobbling on hot pavement like they just stepped into lava.
Our pups’ paws go through a lot—icy winters, scorching summers, and rough terrain. So, why not treat them with an all-natural DIY paw balm?
It’s easy to make, gentle, and uses ingredients you probably already have at home 🙂
This post is for informational purposes only. If your dog’s paws are severely cracked, bleeding, or infected, consult your veterinarian before applying any balm or treatment.
Why Does Your Dog Need Paw Balm?

Your dog’s paws are tougher than they look, but they’re not invincible. Dry, cracked paws can be painful and lead to infections if left untreated. Here’s why paw balm can be a lifesaver for your furry friend:
- Hydration: It restores moisture to dry, flaky pads.
- Protection: It creates a barrier against harsh surfaces, like hot pavement and icy sidewalks.
- Healing: The natural ingredients soothe irritation and promote repair.
- Comfort: No more licking or limping from discomfort—just happy, healthy paws.
The Ingredients You’ll Need
The beauty of this DIY paw balm is its simplicity. You only need a handful of natural, dog-safe ingredients to get started. Here’s what you’ll need:
- 1/4 cup of coconut oil
- 2 tablespoons of shea butter (or cocoa butter if you have it)
- 2 tablespoons of beeswax (grated or in pellets)
- 1 tablespoon of olive oil (or sweet almond oil)
- Optional: 1–2 drops of lavender essential oil (for a calming touch, if your dog tolerates it)
Why These Ingredients Work
- Coconut Oil: A superstar moisturizer that soothes dry, irritated skin. Its antibacterial properties are a bonus for cracked paws.
- Shea Butter: Deeply hydrates and protects, making it ideal for rough, weathered pads.
- Beeswax: Acts as a natural barrier, locking in moisture and shielding paws from harsh surfaces.
- Olive Oil: Adds extra hydration and helps the balm spread smoothly.
- Lavender Oil (Optional): A calming, anti-inflammatory ingredient that can also repel insects.
Step-by-Step Instructions
Making your own paw balm is easier than baking cookies. Seriously, it’s that simple. Here’s how to do it:
1. Melt the Ingredients
- Combine the coconut oil, shea butter, beeswax, and olive oil in a heat-safe bowl or jar.
- Place the bowl in a double boiler (or a saucepan with a couple of inches of water). Heat on low, stirring occasionally, until everything is fully melted.
No double boiler? No problem! Use a microwave in 20-second bursts, stirring in between, until melted.
2. Add Essential Oil (Optional)
- If you’re using lavender essential oil, add 1–2 drops to the melted mixture after removing it from heat.
- Stir well to distribute the oil evenly.
3. Pour Into Containers
- Carefully pour the liquid balm into small tins, jars, or silicone molds. Some ideas:
- Empty lip balm tins for easy portability.
- Mini mason jars for home use.
- Silicone molds for fun shapes (paw prints, anyone?).
4. Let It Cool
- Allow the balm to cool and solidify at room temperature for a few hours. Once it’s firm, your DIY paw balm is ready to use!
How to Use Your DIY Paw Balm
Using your homemade paw balm is as simple as applying lotion (if lotion was something your dog tried to lick off). Here’s how to get the most out of it:
- Clean Their Paws: Start with clean paws to remove dirt, debris, or salt. A damp cloth or pet-safe wipe works great.
- Apply the Balm: Take a small amount of balm and gently rub it onto each paw pad. Massage it in for extra pampering.
- Distract Them: To prevent licking, give your dog a treat or their favorite toy while the balm absorbs.
- Repeat as Needed: Apply daily during extreme weather or whenever their paws look dry or irritated.
Practical Tips for Paw Balm Success
- Timing is Everything: Apply the balm before bed or nap time, so your dog isn’t running around while it absorbs.
- Use a Towel: Place an old towel under your dog’s paws during application to catch any mess.
- Store It Properly: Keep your balm in a cool, dry place to prevent it from melting (though it can always be re-cooled if needed).
FAQs
1. Is this balm safe if my dog licks it?
Yes! All the ingredients are dog-safe. While licking might reduce its effectiveness, it won’t harm your pup.
2. How often should I use the balm?
Apply it daily during harsh weather or when you notice dryness. For maintenance, once or twice a week is usually enough.
3. Can I use it on other areas?
Absolutely! This balm works great on dry noses, elbows, or any rough patches of skin.
4. How long does it last?
When stored properly, your balm should last up to 6 months. If it starts smelling off, it’s time to make a fresh batch.
5. What if my dog’s paws are bleeding or infected?
Skip the DIY and consult your vet. This balm is for minor dryness and irritation, not serious wounds or infections.
Why You’ll Love This DIY Paw Balm
This balm isn’t just a treat for your dog—it’s a win for you, too. Here’s why:
- All-Natural Goodness: No artificial chemicals, dyes, or fragrances—just simple, safe ingredients.
- Budget-Friendly: You’ll spend way less making your own balm than buying one at the store.
- Customizable: Add (or skip) ingredients to suit your dog’s specific needs.
- Satisfaction: There’s something satisfying about creating a product that genuinely helps your pup.
Final Thoughts
Your dog’s paws take them everywhere—from backyard zoomies to adventurous hikes to the spot on the couch they’re totally not supposed to be on.
Taking care of their paws isn’t just about comfort; it’s about keeping them healthy and happy. This DIY paw balm is an easy, effective way to protect and soothe your pup’s paws, no matter the season.
So grab your ingredients, get melting, and treat your dog to a little paw pampering. They’ll love you for it (and probably demand belly rubs as payment). 🐾
Printable Recipe Card
Want just the essential recipe details without scrolling through the article? Get our printable recipe card with just the ingredients and instructions.
I’ve spent 10+ years in dog training, digging into what makes dogs (and their humans) tick. At Smart Dog Learning, I share my no-nonsense, fun approach to training so you can enjoy life with a well-behaved, happy pup—no boring lectures, just practical results 😉