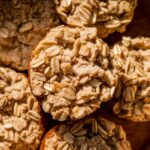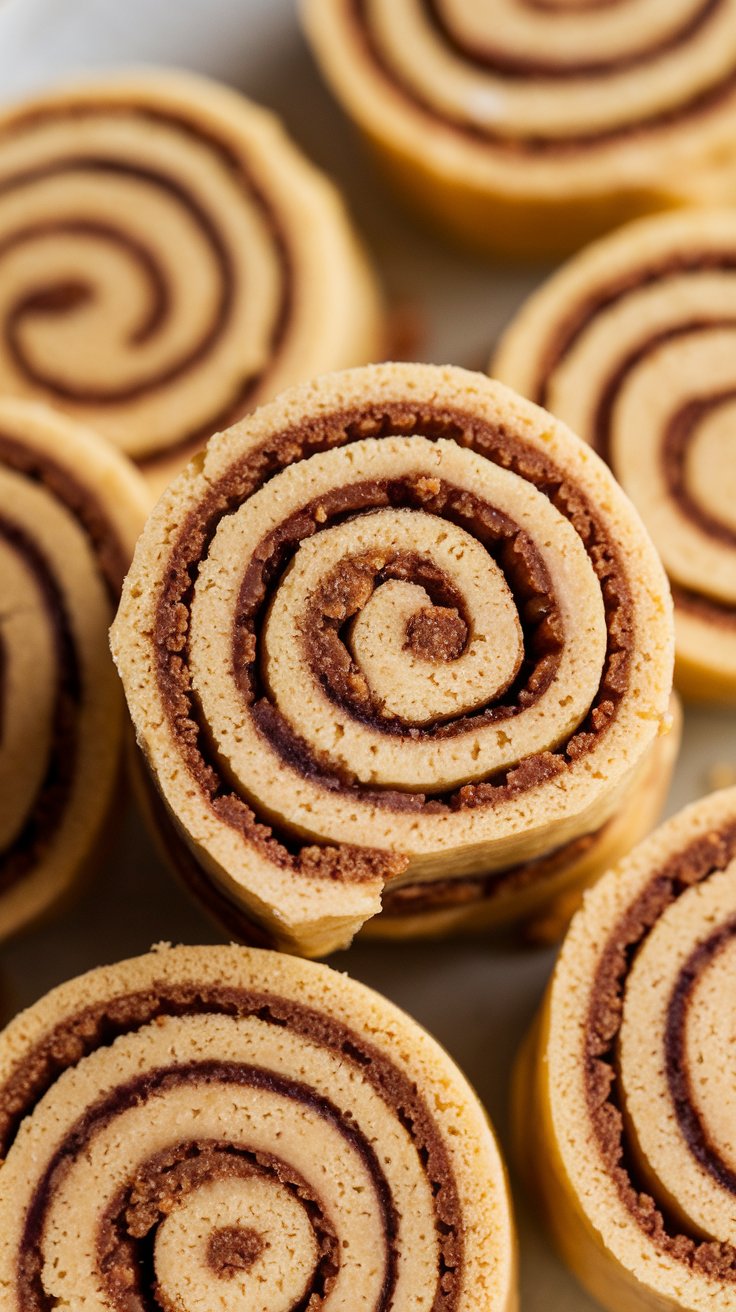
Peanut Butter & Oat Pinwheels: A Simple and Fun Swirl-Shaped Dog Snack
Your dog’s been giving you those eyes again—the ones that say “I’ve been a good dog, where’s my reward?”
Skip the overpriced store treats and whip up these cool pinwheels instead 😉
They look fancy but require minimal effort. Your dog gets a delicious, wholesome snack, and you get to feel like the pet parent of the year. Win-win.
Why These Treats Deserve Your Attention
These aren’t just cute—they’re strategic.
The spiral design means these treats break apart easily for training sessions, while the oat-peanut butter combo delivers sustained energy without the crash.
They’re perfectly sized for any dog, and the ingredients support digestive health, coat shine, and overall wellbeing.
Made with pantry staples you already have, these pinwheels cost pennies compared to premium store brands.
Your dog thinks they’re getting dessert, but you know they’re getting nutrition. That’s what we call smart snacking.
Your Shopping List (Spoiler: It’s Short)
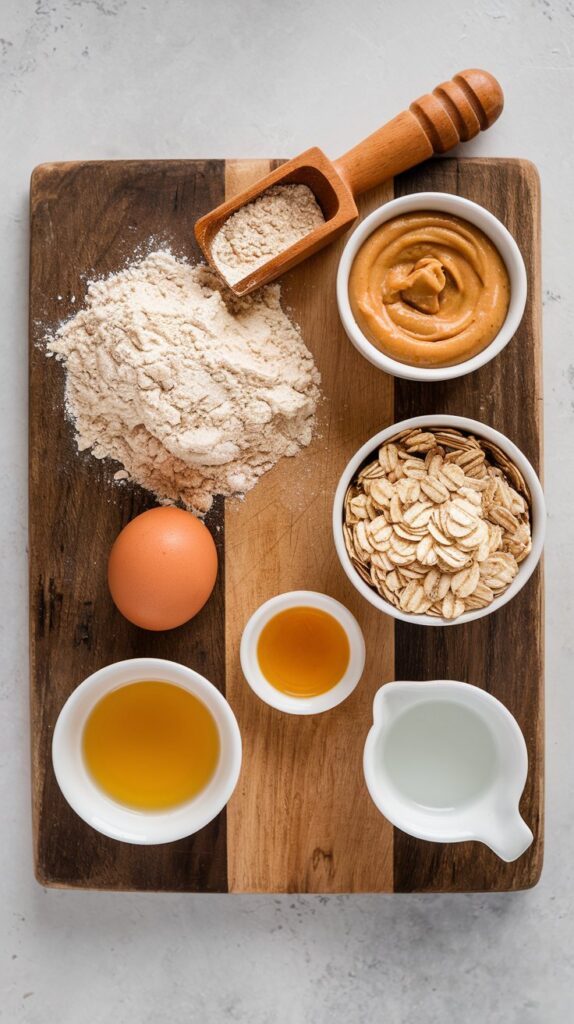
Here’s all you need to make treat magic happen:
- 2 cups whole wheat flour (the foundation of our pinwheels—gives structure and fiber)
- 1 cup old-fashioned rolled oats (not instant—we want texture and sustained energy)
- ¾ cup natural peanut butter (unsalted, no xylitol—this stuff is deadly to dogs)
- 1 cup water (plus extra if needed—tap is fine, your dog isn’t a water snob)
- 1 tablespoon honey (optional natural sweetener that helps bind everything)
- 1 egg (nature’s perfect binder—makes everything stick together)
That’s it. Six simple ingredients, most of which are probably sitting in your pantry right now judging you for not making these sooner.
Let’s Make Some Pinwheels (It’s Almost Too Easy)
Time to transform these basic ingredients into spiral perfection:
- Get started. Preheat your oven to 350°F and line two baking sheets with parchment paper. Don’t skip the parchment—it prevents stick-age and makes cleanup a breeze.
- Create your base dough. Mix flour and oats in a large bowl. In a separate bowl, whisk together peanut butter, water, honey, and egg until smooth. Combine wet and dry ingredients to form a sturdy dough. It should hold together without being sticky—add a touch more water if it’s too crumbly.
- Roll it out. Divide dough in half. On a floured surface, roll each half into a rectangle about ¼-inch thick. Thickness matters here—too thick and they won’t bake evenly, too thin and they’ll burn.
- Create the swirl effect. Spread a thin layer of peanut butter over one rectangle. Place the second rectangle on top and gently press down. This is what creates that impressive pinwheel effect that’ll have other dog owners asking for your recipe.
- Roll it up. Starting from the long edge, tightly roll the dough into a log, like you’re making cinnamon rolls. If it cracks a bit, just press it back together—no one’s judging your technique.
- Chill out. Wrap the log in plastic wrap and refrigerate for at least 30 minutes. This firming-up step is non-negotiable—it makes slicing clean and prevents your pinwheels from becoming pinblobs.
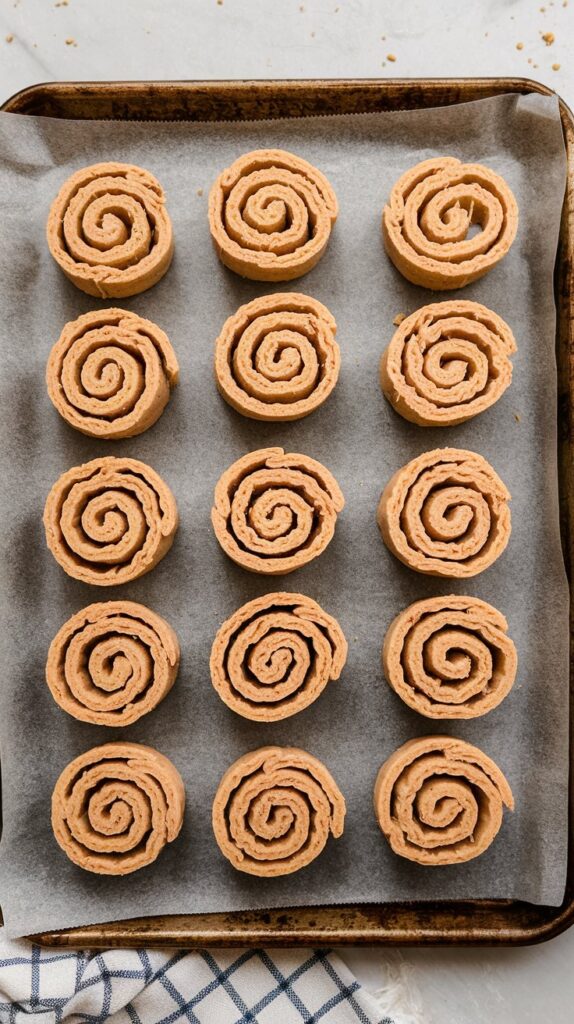
- Slice and bake. Cut the log into ¼-inch slices and arrange on prepared baking sheets. Bake for 15-18 minutes until edges are golden and centers are firm. Remember: crunchy treats last longer than soft ones.
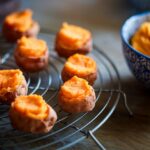
- Cool completely. Let them cool on the baking sheet for 5 minutes, then transfer to a wire rack. They’ll continue to crisp up as they cool.
Done. Store in an airtight container for up to two weeks, or freeze for three months if you’re the planning type.

Variations for the Creative Dog Parent
Basic pinwheels mastered? Level up with these easy twists:
- Banana Boost: Add ¼ cup mashed ripe banana to the dough for extra potassium and natural sweetness.
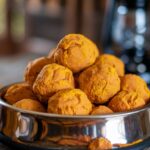
- Pumpkin Power: Substitute ¼ cup of the water with pure pumpkin puree for fiber and digestive benefits.
- Cheesy Delight: Sprinkle a thin layer of grated cheddar cheese between the rectangles for a protein-packed treat that smells irresistible when baking.
- Breath Freshener: Add 2 tablespoons of finely chopped fresh parsley or mint to the dough. Because sometimes dog breath needs intervention.
- Gluten-Sensitive Version: Substitute regular flour with oat flour or a gluten-free blend. The texture will be slightly different, but the taste will still win tails.
How to Not Mess This Up
Even with simple recipes, there are pitfalls. Here’s how to avoid them:
- Skipping the chill time. Without refrigeration, your log will be too soft to slice cleanly. Patience creates prettier pinwheels.
- Using the wrong peanut butter. Check that label! Xylitol is toxic to dogs. Natural, unsalted peanut butter is the only way to go.
- Rolling too loosely. A loose roll means sad, unraveling pinwheels. Channel your inner sushi chef and keep it tight.
- Making slices too thick. Thick slices take forever to bake and might stay soft in the middle. Stick to ¼-inch for best results.
- Rushing the cooling. Hot treats are soft treats. Let them cool completely to achieve that satisfying crunch factor.
Questions You Might Have
Q: Can I make these without an electric mixer? A: Absolutely! Strong arms and determination work just fine. The dough is forgiving.
Q: My dog is on a diet. Can they still have these? A: Yes, but portion control is key. Cut smaller slices and limit to one or two per day as part of their treat allowance.
Q: How do I know when they’re done baking? A: Edges should be golden brown, and centers should be firm to the touch. When in doubt, give them an extra minute—slightly overdone is better than underbaked.
Q: Can I add vegetables to these? A: Yes! Finely grated carrots or zucchini work well. Just squeeze out excess moisture first to prevent soggy pinwheels.
Q: Why do mine look different from your pictures? A: Every batch has personality. As long as they’re baked through and your dog loves them, appearances don’t matter. Dogs don’t post treat reviews on social media.
Final Thoughts on Pinwheel Perfection
Here’s the truth: Peanut Butter & Oat Pinwheels are more than just treats—they’re edible proof that you’re willing to go the extra mile for your four-legged companion. They combine nutrition, visual appeal, and that peanut butter flavor dogs would probably write poetry about if they could hold pencils.
While your pup doesn’t care about the spiral design, they’ll definitely appreciate the love baked into each bite. And when other dog owners ask where you got those fancy treats, you get to casually say, “Oh, I made them.” Nothing says dedicated pet parent like homemade pinwheel treats.
So pull out those measuring cups, preheat that oven, and get rolling. Your dog’s about to think you’ve opened a gourmet bakery just for them—and isn’t their happiness worth a little flour on your countertop?
Your pup is waiting. The peanut butter jar is waiting. Pinwheel greatness awaits.
I’ve spent 10+ years in dog training, digging into what makes dogs (and their humans) tick. At Smart Dog Learning, I share my no-nonsense, fun approach to training so you can enjoy life with a well-behaved, happy pup—no boring lectures, just practical results 😉